Granny Stitch Crochet Bandana – Free Beginner Pattern

Granny Stitch Crochet Bandana Pattern for Beginners (Free Tutorial)
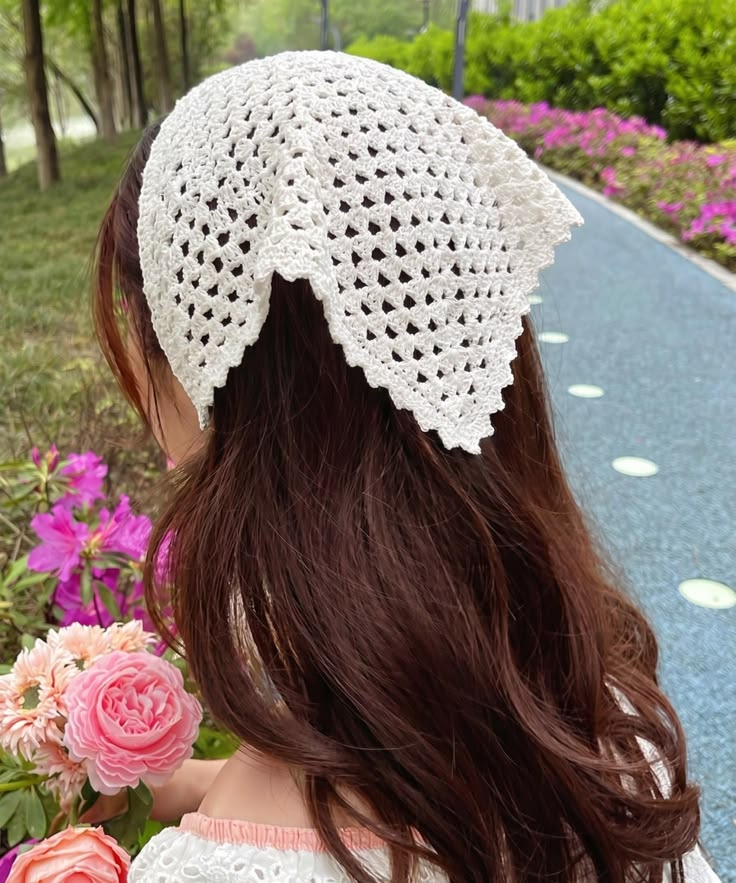
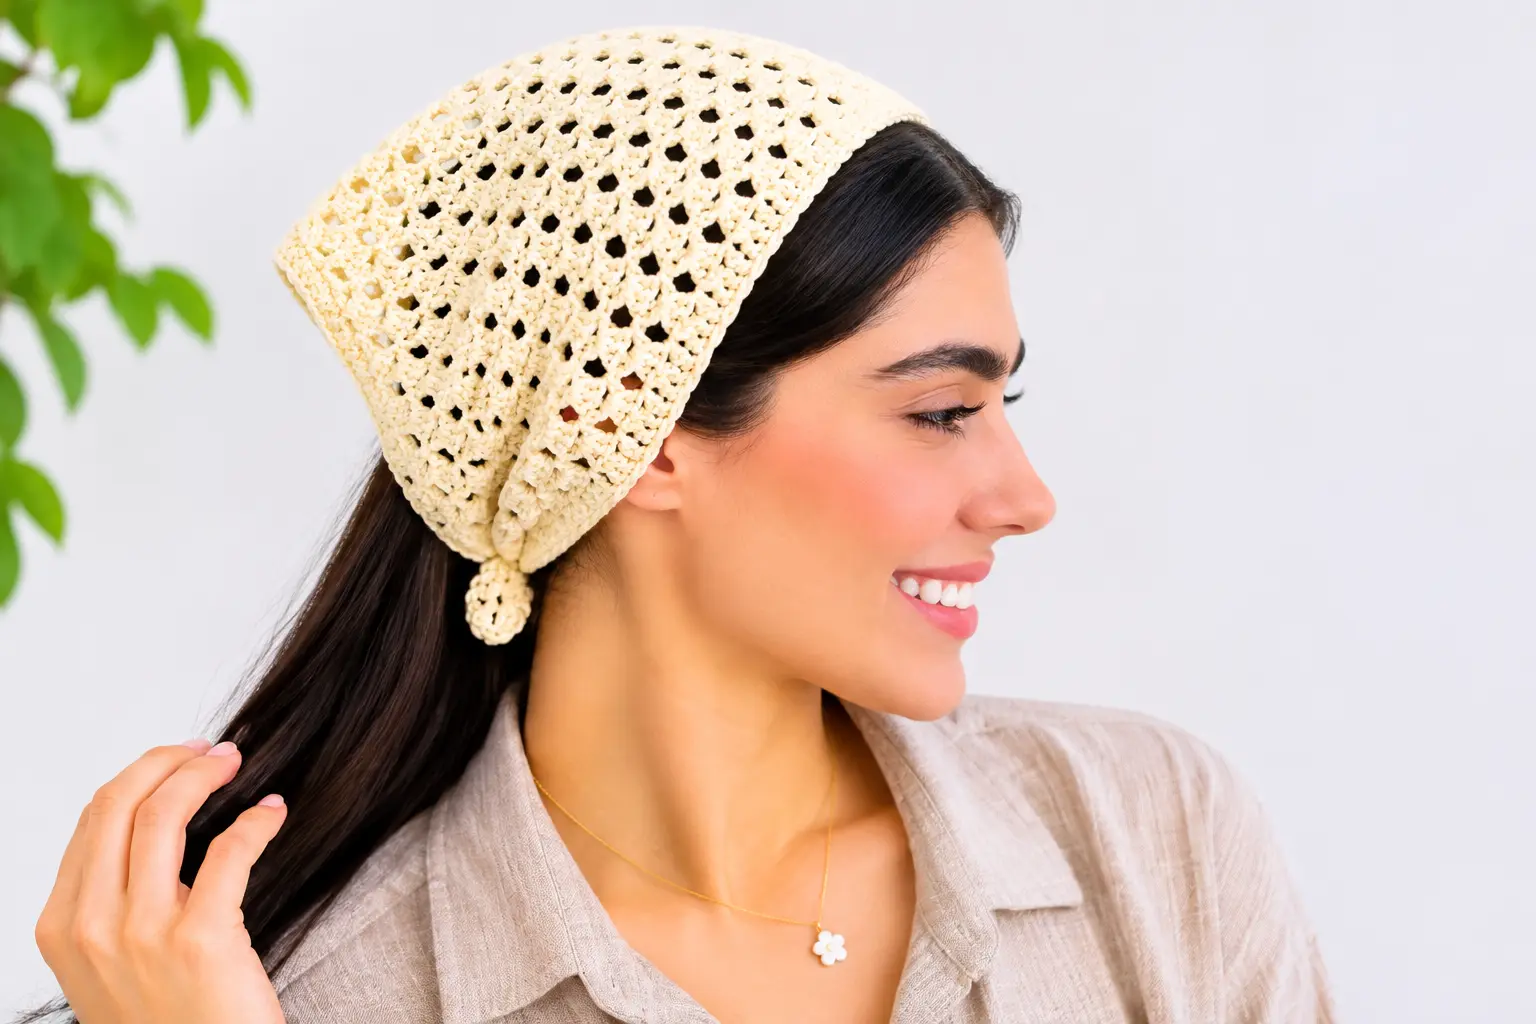
Looking for a beautiful granny stitch crochet bandana you can make with basic crochet skills? This lightweight triangle headscarf combines classic granny clusters with a soft, open texture that’s perfect for everyday wear.
In this free beginner crochet tutorial, you’ll learn how to build a granny stitch triangle, increase its size evenly, add a neat border, and create comfortable ties.
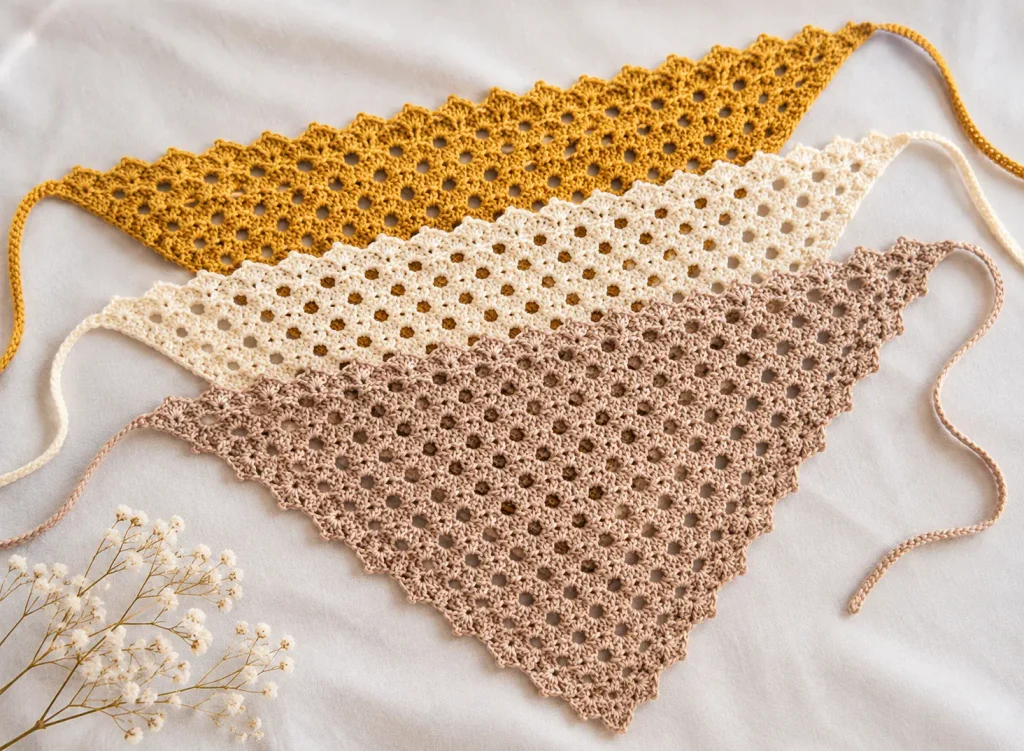
The finished design is especially pretty in cream cotton yarn, but you can easily experiment with sage green, dusty pink, lavender, or your favorite summer color.
This project is designed around a repeating triangle construction, so you can adjust the size as you work.
Pattern testing notice: This original InfoCrochet pattern is a development draft. The stitch counts have been reviewed mathematically, but the instructions, gauge, finished measurements, and fit have not yet been physically tested. Results may vary until sample testing is complete.InfoCrochet_Pink_Bandana_Printable
What Is a Granny Stitch Crochet Bandana?
A granny stitch crochet bandana is a triangular headscarf made using groups of double crochet stitches.
Instead of creating a solid fabric, granny clusters leave small spaces between stitch groups. This gives the bandana a textured, breathable appearance.
The triangle grows from its lower point toward the wider upper edge. Each new row adds stitches while maintaining the overall shape.
Once the triangle reaches the desired size, you add ties at the upper corners to secure the bandana around your head.

Why You’ll Love This Crochet Bandana
- Beginner-friendly stitches: Uses chains, double crochet, single crochet, and slip stitches.
- Lightweight texture: Granny stitch spaces create an airy fabric.
- Adjustable size: Continue adding rows until the triangle fits.
- Simple construction: Worked as one growing triangle, followed by edging and ties.
- Easy to customize: Choose different yarn colors or add a decorative border.
- Everyday style: Wear it with loose hair, braids, or a low bun.
Project Overview
| Detail | Information |
|---|---|
| Project | Granny stitch triangle bandana |
| Skill level | Confident beginner |
| Crochet terms | US terminology |
| Construction | Triangle worked in turned rows |
| Main stitch | Double crochet granny clusters |
| Suggested yarn | Light (3) cotton or cotton blend |
| Suggested hook | 4 mm, adjusted for your yarn |
| Finished size | Adjustable; sample not yet measured |
| Pattern status | Untested draft |
Materials You’ll Need
Gather these supplies before starting:
- Light (3) cotton or cotton-blend yarn
- 4 mm crochet hook, or a hook that creates your preferred fabric
- Scissors
- Yarn needle
- Measuring tape
- Two stitch markers (optional)
Choosing the Best Yarn
For a soft, wearable crochet bandana, choose yarn that feels comfortable against your hair and skin.
Cotton is a popular option because it provides clear stitch definition and is often breathable. Cotton blends can also create a softer, more flexible fabric.
If you prefer a delicate bandana, experiment with a lighter yarn and a suitable smaller hook.
If you want a more structured accessory, a slightly thicker yarn may work better.
You can learn more about yarn categories in the Craft Yarn Council yarn weight guide.
Beginner tip: Make a small swatch first. Your fabric should feel flexible rather than stiff.
Crochet Stitches and Abbreviations
This pattern uses US crochet terms.
| Abbreviation | Meaning |
|---|---|
| ch | Chain |
| dc | Double crochet |
| sc | Single crochet |
| sl st | Slip stitch |
| st | Stitch |
| sp | Space |
| rep | Repeat |
| RS | Right side |
Special Stitch: Granny Cluster
A granny cluster is a group of three double crochet stitches worked into the same space.
Granny cluster: Work 3 dc into the indicated space.
Special Stitch: Center Corner
The center corner creates the pointed shape of the bandana.
For this draft, the center corner consists of:
3 dc, ch 2, 3 dc worked into the same center chain space.
The two granny clusters create the sides of the triangle, while the chain-2 space marks its center.
Before You Start: Understanding the Triangle
This bandana is worked from the bottom point upward.
Each row contains:
- A starting granny cluster.
- Granny clusters in the spaces along the first side.
- A center corner increase.
- Granny clusters along the second side.
- An ending granny cluster.
As you add rows, the number of granny clusters increases.
The center corner should remain aligned with the point of the triangle.
Turning Chain Rule
At the beginning of each row, chain 3.
For this pattern, the turning chain counts as the first double crochet of the starting granny cluster.
This means you work two additional double crochet stitches into the first stitch to complete the starting group of three.
Free Granny Stitch Crochet Bandana Pattern
The instructions below use a new, original row structure for this InfoCrochet draft.
Important: Read through the full pattern before beginning, and remember that it still requires sample testing.
Step 1: Make the Starting Triangle
Create a magic ring.
Row 1:
Ch 3, work 2 dc into the ring, ch 2, work 3 dc into the ring.
Tighten the magic ring carefully.
You should have two groups of three double crochet stitches separated by a chain-2 center space.
Row 1 stitch count: 2 granny clusters and 1 center ch-2 space.
This small section forms the pointed beginning of your triangle.
Step 2: Work the First Increase Row
Turn your work.
Row 2:
Ch 3, work 2 dc into the first stitch.
Ch 1.
Work (3 dc, ch 2, 3 dc) into the center ch-2 space.
Ch 1.
Work 3 dc into the last stitch.
Row 2 stitch count: 4 granny clusters, with a center ch-2 space.
You now have a larger triangle with one chain-1 space on each side of the center.
Step 3: Continue Building the Granny Triangle
Turn your work.
Row 3:
Ch 3, work 2 dc into the first stitch.
Ch 1, work 3 dc into the next ch-1 space.
Ch 1, work (3 dc, ch 2, 3 dc) into the center ch-2 space.
Ch 1, work 3 dc into the next ch-1 space.
Ch 1, work 3 dc into the last stitch.
Row 3 stitch count: 6 granny clusters.
Your triangle should now have three granny clusters on each side of the center.
Step 4: Follow the Repeating Increase Pattern
For every additional row, follow this sequence:
- Turn your work.
- Ch 3 and work 2 dc into the first stitch.
- Ch 1.
- Work a granny cluster into each available ch-1 space along the first side, placing ch 1 between groups.
- Work (3 dc, ch 2, 3 dc) into the center ch-2 space.
- Ch 1.
- Work a granny cluster into each available ch-1 space along the second side, placing ch 1 between groups.
- Ch 1 and work 3 dc into the last stitch.
Continue repeating the increase row until the bandana reaches your preferred width and depth.
Granny Cluster Count Reference
Use this table to help check your progress.
| Row | Total granny clusters |
|---|---|
| 1 | 2 |
| 2 | 4 |
| 3 | 6 |
| 4 | 8 |
| 5 | 10 |
| 6 | 12 |
| 7 | 14 |
| 8 | 16 |
| 9 | 18 |
| 10 | 20 |
| 11 | 22 |
| 12 | 24 |
Each row adds two granny clusters.
The stitch counts above describe the intended construction; they are not a substitute for testing the pattern.
Step 5: Check Your Bandana Size
Place your crochet triangle on a flat surface.
Measure:
- The width across the upper edge.
- The depth from the upper edge to the lower point.
- The distance between the two upper corners.
Hold the triangle against your head to check the fit before adding the ties.
If the bandana feels too small, continue the increase pattern.
If it is too large, return to an earlier row.
Suggested Sizing Guide
These are general starting targets, not measurements from a completed InfoCrochet sample.
| Size | Approximate triangle width |
|---|---|
| Small | 16–18 inches |
| Medium | 18–20 inches |
| Large | 20–22 inches |
The number of rows needed depends on your yarn, hook, and tension.
For the most accurate fit, use your actual measurements instead of relying only on row counts.
Step 6: Add a Simple Border
After completing your final triangle row, fasten off and weave in the end.
Join your yarn at one upper corner.
Work single crochet stitches evenly along the two sloping edges of the triangle, placing additional stitches at the lower point only if needed to help the fabric lie flat.
Fasten off.
The purpose of this border is to create a neat finish without making the fabric too stiff.
Beginner tip: Avoid working too many stitches along the edge, which can cause rippling.
How to Make the Crochet Bandana Ties
For this design, the ties are made separately from the triangle edging.
First Tie
Join your yarn to one upper corner.
Create a chain long enough to tie comfortably around your head.
Starting in the second chain from the hook, work one slip stitch into each chain back toward the bandana.
Secure the tie to the corner and fasten off.
Second Tie
Repeat the same process at the opposite upper corner.
Make sure both ties are approximately equal in length.
Weave in all loose ends securely.
Safety and comfort tip: The ties should secure the bandana without pulling tightly against your head or neck.
How to Wear Your Granny Stitch Crochet Bandana
A handmade granny stitch bandana is a versatile accessory that works with several hairstyles.
Classic Triangle Headscarf
Place the widest edge across the crown of your head.
Allow the pointed end to fall toward the back.
Tie the two straps comfortably beneath your hair.
With Loose Hair
Wear the bandana over loose hair for a casual, lightweight look.
Cream and neutral colors work especially well with denim, white tops, and summer dresses.
With a Low Bun
Gather your hair into a low bun.
Position the bandana over the top of your head and tie the ends securely.
Adjust the fabric so it lies comfortably.
Common Crochet Bandana Problems and Solutions
My Triangle Is Uneven
Check whether you worked the same number of granny clusters on both sides of the center.
Missing a chain-1 space can cause one side to become shorter.
My Center Point Is Crooked
Make sure you work the center increase into the correct chain-2 space on every row.
A stitch marker can help you identify this location.
My Bandana Is Too Small
Continue adding rows until you reach the desired width.
Remember to check the depth as well as the width.
My Bandana Is Too Stiff
Try a larger crochet hook or softer yarn.
A more relaxed tension can improve the drape.
My Edges Are Wavy
Check that your border stitches are evenly distributed.
Too many stitches along the edges can cause rippling.
My Ties Are Too Short
Remove the ties and make longer chains.
Always check the fit before securing the yarn ends.
How to Customize Your Granny Stitch Bandana
Try a Cream and Sage Green Combination
Work most of your triangle in cream yarn and use sage green for the final border.
Make a Dusty Pink Bandana
Choose soft pink cotton yarn for a romantic, feminine look.
Add a Decorative Edge
Once you’ve tested the basic pattern, experiment with a simple scalloped or picot-inspired border of your own design.
Create a Matching Crochet Set
Use the same yarn to create a coordinating headband or small accessory.
Free Printable Granny Stitch Crochet Bandana PDF
Would you prefer to follow this pattern without scrolling through the website?
A printable PDF can include the materials, abbreviations, row instructions, sizing notes, and finishing steps.
[Download the Free Granny Stitch Crochet Bandana PDF — add your PDF URL after testing]
The PDF should only be released as a verified pattern after the crochet instructions and measurements have been physically tested.
Frequently Asked Questions
Is a granny stitch crochet bandana beginner-friendly?
Yes. This project uses basic crochet stitches, although beginners should be comfortable with double crochet and identifying chain spaces.
What is the best yarn for a granny stitch bandana?
Soft cotton or cotton-blend yarn is a good choice for a lightweight, breathable accessory.
Can I use a different hook size?
Yes. Changing your hook size affects the size and drape of the stitches. Check your measurements as you work.
How many rows should I crochet?
Continue until the triangle fits comfortably. The number of rows depends on your gauge and desired finished size.
Can I make the bandana without a border?
Yes. A border is optional, although it can create a more finished appearance.
Can I use two colors?
Absolutely. Try alternating colors every few rows or adding a contrasting border.
How do I wash my crochet bandana?
Follow the care instructions for your yarn. Gently reshape the bandana after washing if needed.
Can I make this bandana larger?
Yes. Continue repeating the increase row while maintaining the center corner and symmetrical sides.
More Free Crochet Patterns
If you enjoyed this granny stitch crochet bandana tutorial, explore our other beginner-friendly crochet projects.
Discover free crochet headband patterns for beginners for more handmade accessory ideas.
You can also explore our collection of crochet bandana patterns and accessories for additional inspiration.
Final Thoughts
A granny stitch crochet bandana is a lovely project for anyone who enjoys handmade accessories and simple crochet textures.
The repeating granny clusters make it easy to understand how a triangle grows, while the adjustable sizing lets you customize the finished accessory.
Choose a comfortable yarn, practice your stitches, and check your measurements as you work.
Once the original pattern has been fully tested, you’ll have a beautiful handmade headscarf to wear, gift, or customize in your favorite colors.
Happy crocheting!