
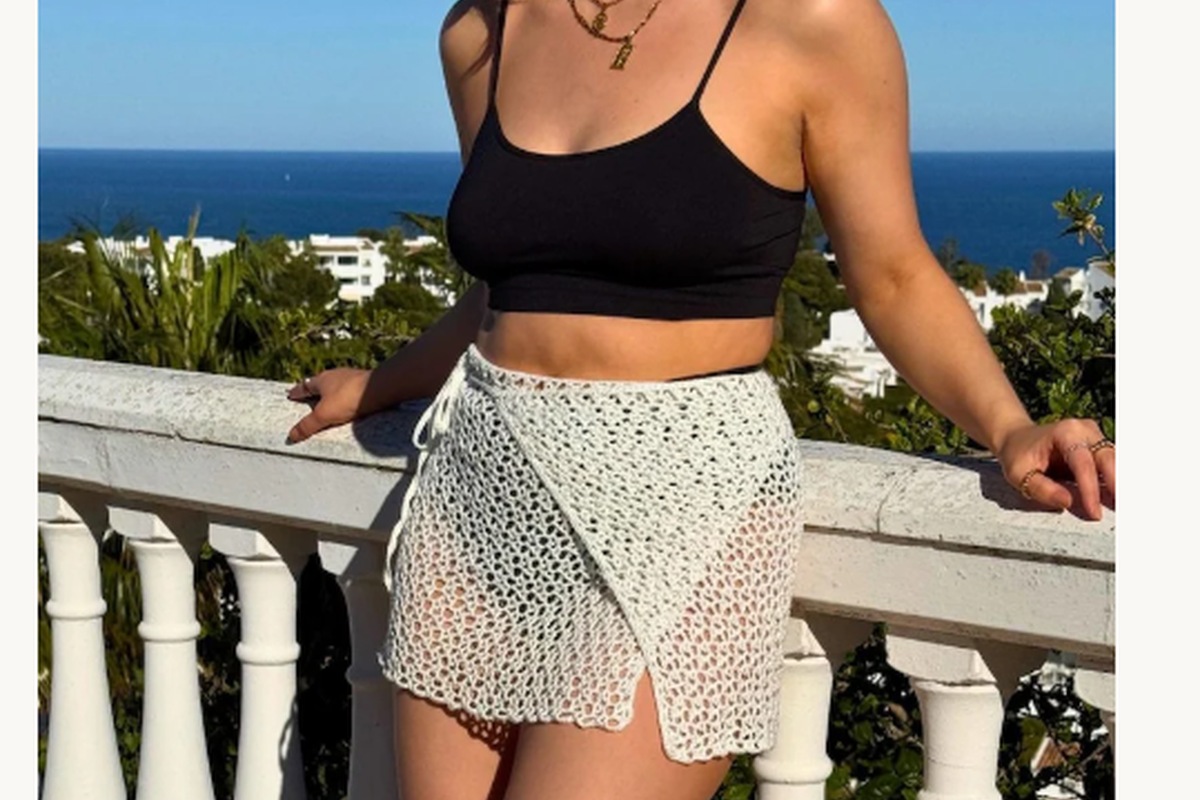
Free Crochet Hip Scarf Pattern – 7 Easy Steps for Beginners
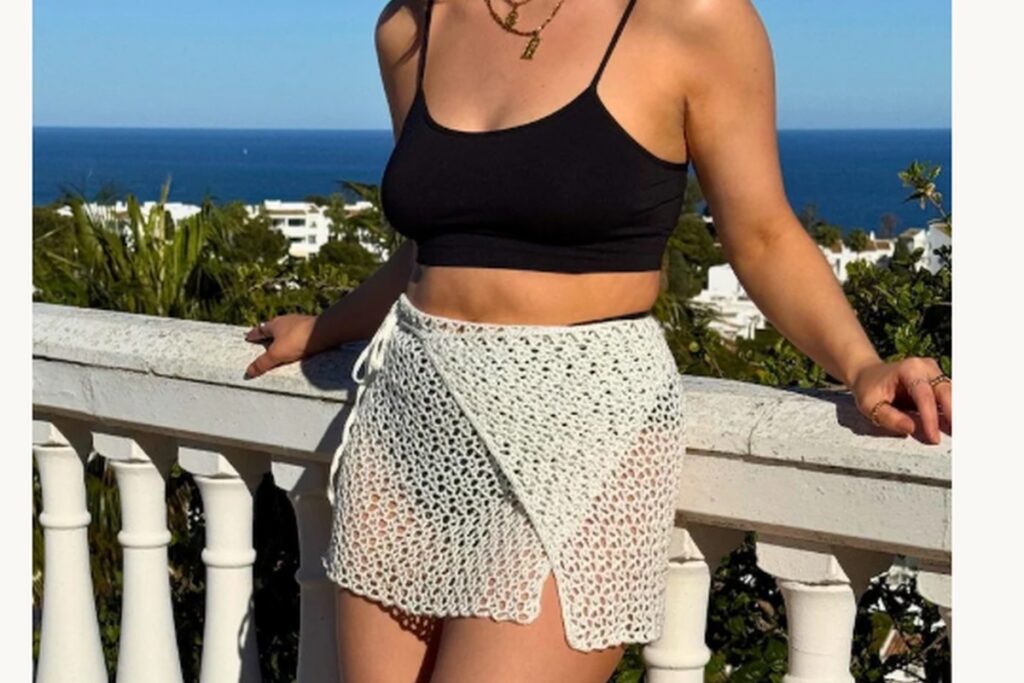
Free Crochet Hip Scarf Pattern – Easy Triangle Mesh Tutorial
Looking for a beautiful free crochet hip scarf pattern? This beginner-friendly tutorial introduces a lightweight triangular hip wrap with open mesh stitches, decorative fringe, and adjustable ties.
Inspired by traditional crochet lace techniques, this handmade accessory combines an airy mesh texture with the elegant movement of a belly dance hip scarf.
Whether you’re making a crochet belly dance wrap, a boho festival accessory, or a decorative layer for a summer skirt, this project offers plenty of ways to personalize your design.
In this guide, you’ll learn how to build a triangular mesh, adjust its size, add decorative fringe, and finish your crochet hip scarf with comfortable ties.
Pattern note: This is an original design draft adapted from general crochet techniques. It is not a reproduction of the reference PDF, and its stitch sequence and finished dimensions require sample testing.
Why You’ll Love This Crochet Hip Scarf
A crochet hip scarf is a beautiful way to combine handmade texture with wearable fashion.
Here are a few reasons to try this project:
- Triangular design: Creates an attractive pointed shape around the hips.
- Open mesh texture: Keeps the scarf lightweight and flexible.
- Adjustable ties: Allows you to customize the fit.
- Decorative fringe: Adds movement and a playful finishing touch.
- Optional beads: Creates a belly dance-inspired accessory.
- Customizable colors: Works beautifully in burgundy, cream, dusty pink, olive green, and brown.

Crochet Hip Scarf Pattern Overview
| Feature | Details |
|---|---|
| Pattern type | Triangle mesh hip scarf |
| Skill level | Confident beginner |
| Yarn | Sport (#2) or DK (#3) cotton |
| Crochet hook | 3.5–4 mm |
| Main stitches | Chain, single crochet, slip stitch |
| Construction | Bottom-up triangular chain mesh |
| Finishing | Fringe, optional beads, adjustable ties |
| Terminology | US crochet terms |
Materials You’ll Need
To make this crochet hip scarf, gather the following materials:
- Sport-weight or DK-weight cotton yarn
- 3.5–4 mm crochet hook
- Yarn needle
- Scissors
- Measuring tape
- Stitch markers
- Lightweight decorative beads (optional)
- Beading needle (optional)
Choosing the Best Yarn
Cotton yarn is a useful choice for crochet hip scarves because it provides stitch definition and a comfortable feel.
For a delicate mesh design, choose sport-weight yarn.
For a slightly thicker scarf, try DK-weight cotton or a soft cotton blend.
The PDF reference includes examples of lightweight yarns worked with a 3 mm hook. For this original hip scarf variation, a 3.5–4 mm hook is suggested to create a more open fabric.
You can consult the Craft Yarn Council yarn weight chart when choosing yarn and hook sizes.
Crochet Stitches and Abbreviations
| Abbreviation | Meaning |
|---|---|
| ch | Chain |
| sc | Single crochet |
| sl st | Slip stitch |
| sp | Space |
| st | Stitch |
This design uses chain loops to create an open mesh fabric.
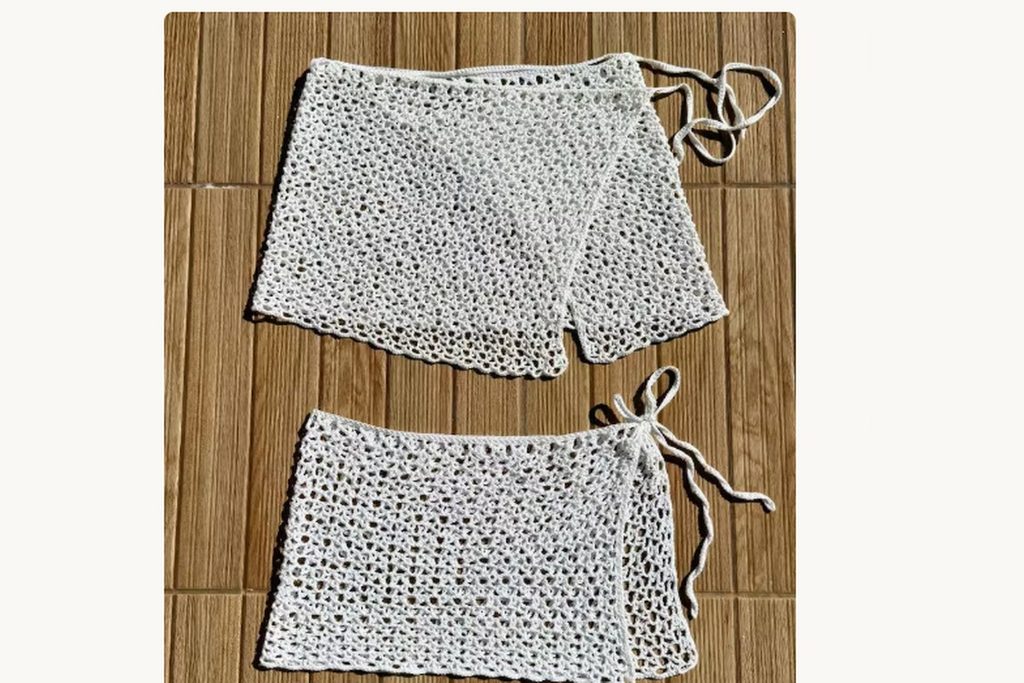
How to Crochet a Hip Scarf in 7 Easy Steps
The following construction starts at the bottom point and increases the number of mesh loops on each row.
Step 1: Measure and Plan Your Crochet Hip Scarf
Before starting, measure the area around your hips where you want to wear the scarf.
Decide how wide you want the upper edge to be.
A decorative belly dance scarf may cover the front and sides of your hips, while a wider hip wrap can extend farther around your body.
Also consider how far you want the triangular point to hang down.
Keep a measuring tape nearby so you can check the fabric as you crochet.
Step 2: Create the Starting Mesh Loop
Make a slip knot.
Chain 6.
Insert your hook into the first chain and work a single crochet to form a small loop.
This creates the bottom point of your triangular crochet hip scarf.
Turn your work.
You now have one chain loop.
Step 3: Increase the Mesh
Row 2
- Chain 6.
- Work 1 single crochet into the existing chain loop.
- Chain 5.
- Work another single crochet into the same loop.
You now have two mesh loops.
Turn your work.
Row 3
- Chain 6.
- Work 1 single crochet into the first loop.
- Chain 5 and work 1 single crochet into the second loop.
- Chain 5 and work another single crochet into the second loop.
You now have three mesh loops.
Turn your work.
Step 4: Continue the Triangle Mesh Pattern
Continue the same increasing principle.
At the beginning of each row, chain 6 and work a single crochet into the first mesh loop.
Then chain 5 and work a single crochet into each remaining loop across the row.
At the final loop, chain 5 and work one additional single crochet into that same loop.
This adds one mesh loop to every new row.
The proposed progression is:
| Row | Mesh loops |
|---|---|
| 1 | 1 |
| 2 | 2 |
| 3 | 3 |
| 4 | 4 |
| 5 | 5 |
| 10 | 10 |
| 20 | 20 |
| 30 | 30 |
Continue until the triangle reaches your desired width.
Crochet tip: Keep your chain loops relaxed and consistent. Check that the triangle lies flat after every few rows.
The loop progression above describes the intended repeat. The edge shape, stitch tension, and finished dimensions still need to be checked on a physical sample.
Step 5: Add a Decorative Crochet Border
Once the mesh triangle reaches your preferred size, add a simple border to strengthen the upper edge.
Work single crochet stitches evenly along the top.
Avoid adding too many stitches, which can cause the edge to ripple.
For the lower diagonal edges, you can keep the natural mesh outline or add a decorative border.
The reference PDF includes examples of lace borders and picot-style details that can inspire your finishing.
A simple border is especially useful for beginners because it helps maintain a clean shape.
Step 6: Add Fringe, Beads, and Adjustable Ties
Cut several lengths of yarn for the fringe.
Fold each strand in half and pull the folded loop through a mesh space along the lower edge.
Pass the loose ends through the loop and tighten gently.
Continue along both diagonal sides of the triangle.
For a decorative pointed look, use longer fringe near the bottom point.
Adding beads
Thread lightweight beads onto selected fringe strands.
Position each bead near the end of the strand and secure it with a firm knot.
Check that the beads cannot slide over the knots.
Making adjustable ties
Attach yarn to one upper corner of the scarf.
Crochet a long chain and work slip stitches back along it to create a stronger tie.
Repeat at the opposite corner.
Make the ties long enough to fasten comfortably around your hips.
Step 7: Finish Your Crochet Hip Scarf
Weave in all remaining yarn ends.
Lay your crochet hip scarf flat and gently straighten the mesh loops.
Trim the fringe to your preferred length.
If the yarn allows it, lightly block the scarf to help the fabric settle.
Wrap the scarf around your hips and tie the cords at the side.
Adjust the triangle until it hangs comfortably.
Your handmade crochet hip scarf is ready to style!
Crochet Hip Scarf Size Guide
The following measurements are suggested design targets, not verified measurements from the pattern.
| Size | Target width | Target depth |
|---|---|---|
| Small | 30–34 inches | 6–7 inches |
| Medium | 34–38 inches | 7–8 inches |
| Large | 38–42 inches | 8–10 inches |
Because this design grows in both width and depth, measure both dimensions regularly.
If the scarf becomes too deep before reaching the desired width, a different mesh shape or increase method may be needed.
How to Customize Your Crochet Hip Scarf
Burgundy Crochet Hip Scarf
Deep burgundy creates a striking accessory inspired by belly dance fashion.
Pair it with red, pink, and gold beads for a decorative finish.
Cream Crochet Hip Scarf
Cream cotton creates a soft, neutral look.
Leave the fringe plain for a minimalist bohemian accessory.
Dusty Pink Crochet Hip Scarf
Dusty pink is a lovely choice for spring and summer outfits.
Add matching fringe for a coordinated handmade style.
Crochet Hip Scarf Without Beads
For a simpler version, skip the beads entirely.
Use yarn fringe or leave the mesh edges plain.
Crochet Hip Scarf With Extra Fringe
For more movement, attach additional fringe strands along both lower edges.
Keep the strands evenly spaced to avoid making the scarf unnecessarily heavy.
Common Crochet Hip Scarf Problems
Why Is My Crochet Mesh Too Tight?
Your hook may be too small or your tension may be too firm.
Try a slightly larger hook and relax your chain stitches.
Why Is My Triangle Uneven?
Check that you’re increasing by one mesh loop on each row.
Count the loops regularly and keep your tension consistent.
Why Does My Crochet Hip Scarf Curl?
Curling can happen when the stitches are too tight or the edges are uneven.
Try adjusting your tension and gently blocking the fabric if appropriate for your yarn.
Why Is My Fringe Uneven?
Use a cardboard template or ruler to cut consistent fringe lengths.
If you want a pointed shape, plan the fringe lengths before attaching them.
Why Does My Hip Scarf Slip?
Check that the adjustable ties are long enough and securely fastened.
Avoid using too many heavy beads, which may pull the scarf downward.
How to Wash and Care for a Crochet Hip Scarf
Follow the care instructions on your yarn label.
If your yarn is suitable for handwashing, gently wash the scarf in cool water with mild detergent.
Avoid twisting the mesh fabric.
Check that all decorative beads are secure.
Lay the scarf flat to dry and gently arrange the fringe into shape.
Frequently Asked Questions
Is This Crochet Hip Scarf Pattern Good for Beginners?
The project uses basic chain and single crochet stitches, but increasing the triangular mesh requires careful counting.
It is best suited to confident beginners.
What Is the Best Yarn for a Crochet Hip Scarf?
Sport-weight or DK-weight cotton yarn is a useful choice because it creates a lightweight fabric with visible stitches.
How Much Yarn Do I Need?
Yarn usage depends on the scarf’s finished dimensions, mesh size, and amount of fringe.
Measure the yarn used in a sample before calculating the amount required for the full scarf.
Can I Make a Crochet Hip Scarf Without Fringe?
Yes. You can leave the lower edges plain or add a simple crochet border instead.
Can I Make My Crochet Hip Scarf Bigger?
Yes. Continue the increasing mesh rows until you reach your preferred size, while checking both width and depth.
Can I Wear a Crochet Hip Scarf Over a Skirt?
Absolutely. Crochet hip scarves work beautifully as decorative layers over skirts, dresses, and festival outfits.
Can I Use Different Colors?
Yes! Try burgundy, cream, dusty pink, olive green, chocolate brown, or a combination of complementary colors.
More Free Crochet Patterns
Looking for more handmade crochet accessories?
Explore these tutorials on InfoCrochet:
Save This Free Crochet Hip Scarf Pattern
Love this crochet hip scarf idea?
Save this tutorial to your Pinterest crochet board so you can return to it when you’re ready to make your own.
Choose your favorite yarn color, experiment with decorative fringe, and create a handmade accessory that matches your style.
Final Thoughts
A crochet hip scarf is a creative project that combines simple mesh stitches with beautiful decorative details.
The triangular design, adjustable ties, and optional beaded fringe make it a versatile handmade accessory for belly dance fashion, summer outfits, and bohemian styling.
With different yarn colors and finishing options, you can create a crochet hip scarf that reflects your personal style.
Happy crocheting!