Free Crochet Headband Pattern: Sweetpea Star Stitch Guide
Free Crochet Headband Pattern: Sweetpea Star Stitch Guide
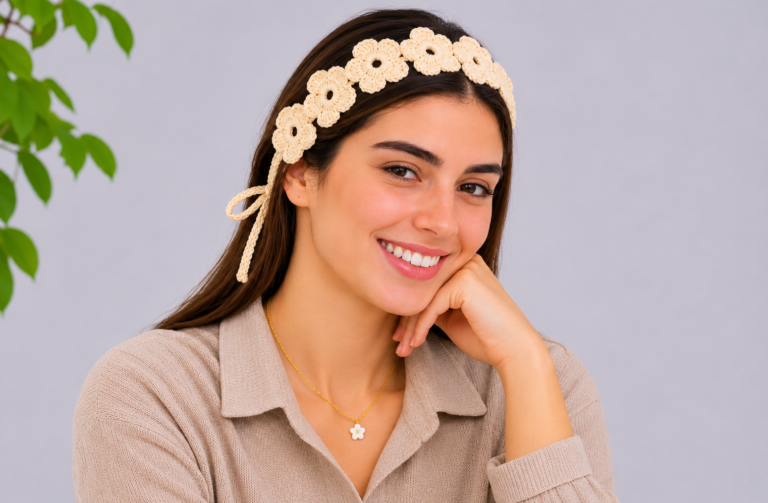
A soft headband is one of those handmade accessories you can reach for again and again. It keeps your ears covered on cool mornings, slips easily into a bag, and keeps the star stitch as the focus without committing to a larger project.
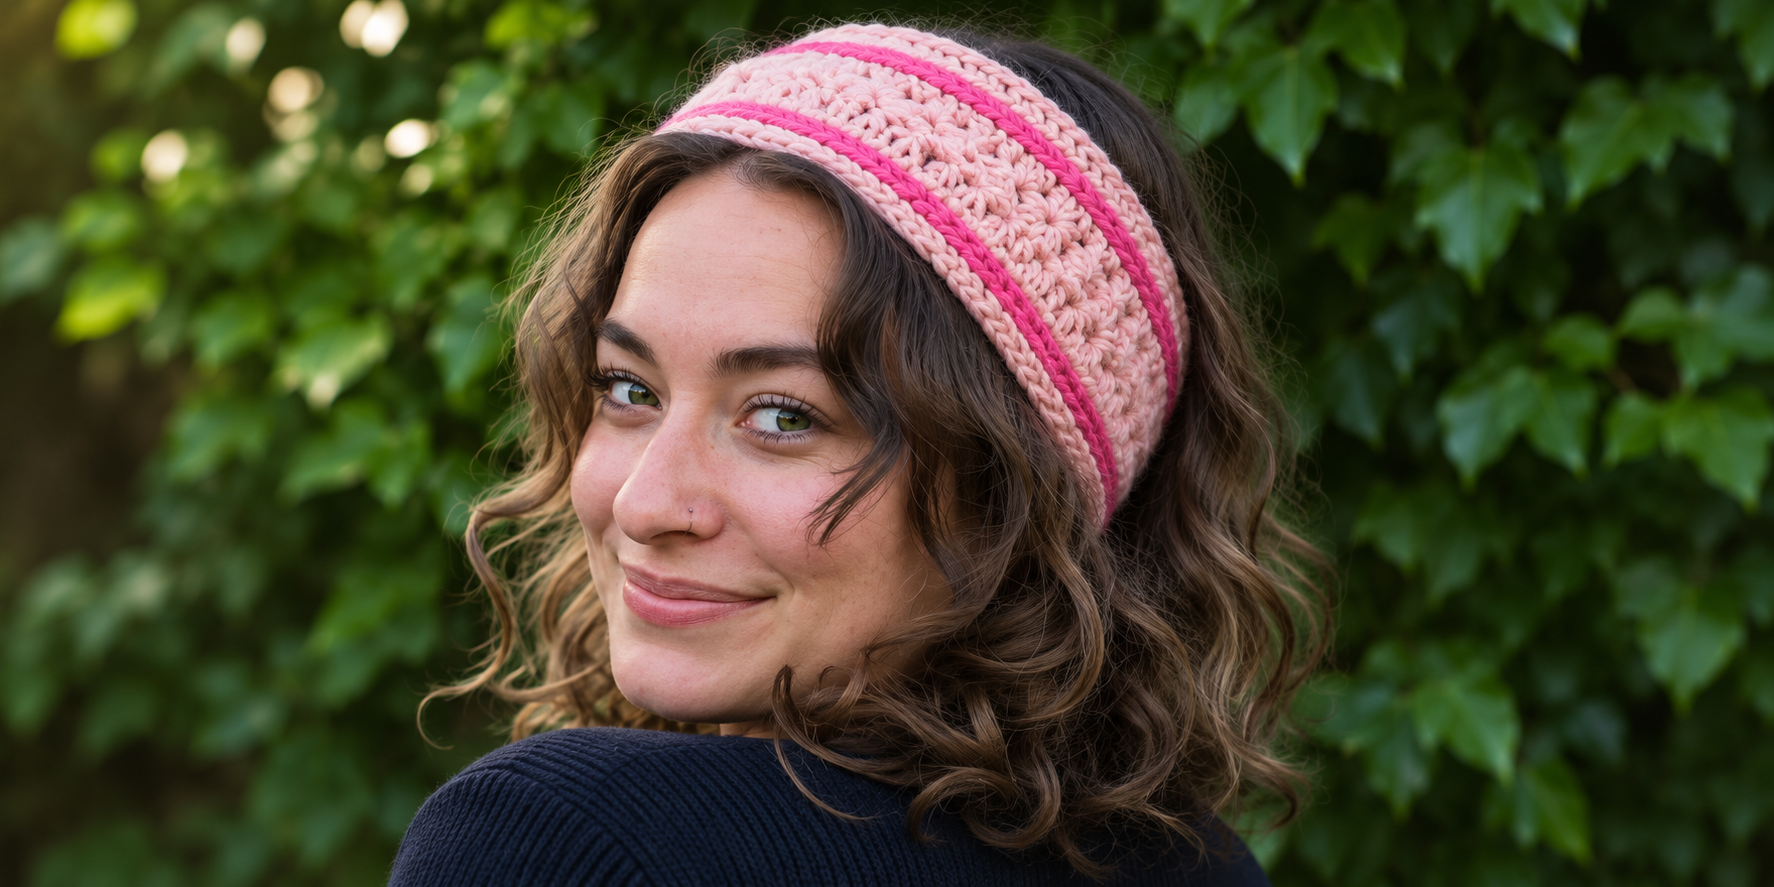
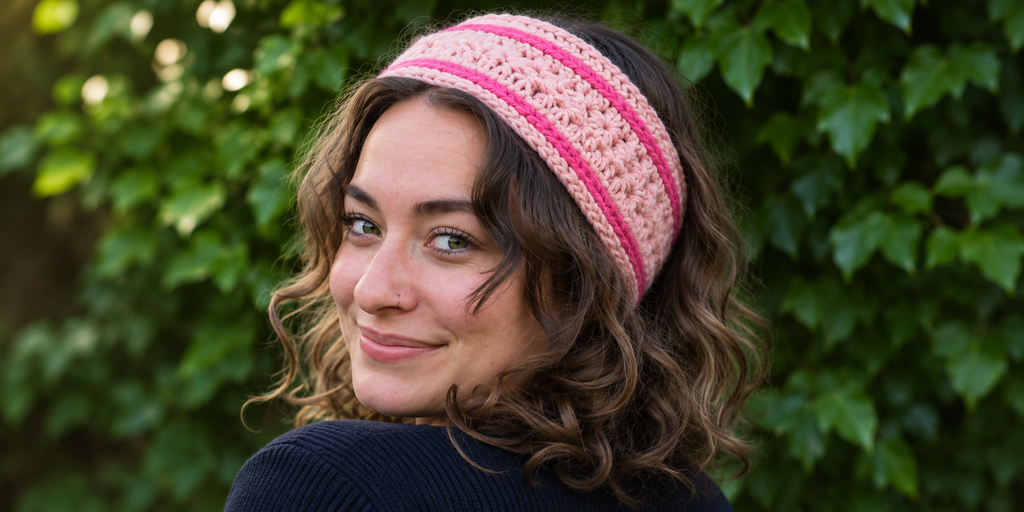
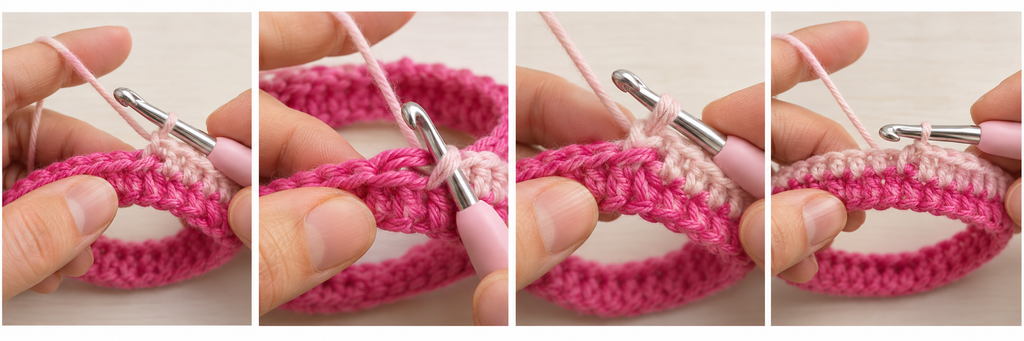
If you are looking for a free crochet headband pattern with more texture than a basic band, the Sweetpea Headband by Emma Sinclair of EmmeClaire Crochet is a textured headband worked in chunky yarn. Its star stitch detail and raised borders give the fabric definition, while contrasting yarn colors make the different sections stand out.
This InfoCrochet guide helps you decide whether the project suits your skills, prepare your supplies, and think through fit before you begin. For the complete stitch counts, rounds, and photo instructions, use the designer’s original pattern linked below.

Sweetpea Headband at a Glance
| Detail | Pattern information |
|---|---|
| Designer | Emma Sinclair / EmmeClaire Crochet |
| Cost | Free Ravelry download |
| Sizes | 4: XS, S, M, and L |
| Yarn weight | Chunky / bulky |
| Hooks | 6 mm and 6.5 mm |
| Gauge | 3 foundation half double crochet stitches = 1 inch, as stated by the designer |
| Yardage | 33–55 yards (30–50 m), according to the designer’s Ravelry listing |
| Terms | US |
| Skill level | Advanced beginner — InfoCrochet’s assessment |
| Style | Continuous band, not twisted |
Gauge and yardage are the designer’s published figures, not measurements from an InfoCrochet sample. Yarn use can vary with size and tension.
Get the Free Pattern on Ravelry
Get the Crochet Headband Pattern Free on Ravelry
Get the Sweetpea Headband pattern by EmmeClaire Crochet on Ravelry. The designer’s listing identifies it as a free download.
Keep the original PDF open as you work. It contains the size-specific instructions and explanations for the special stitches and joins. This article is an independent project guide, rather than a replacement for those instructions.
Pattern credit: Sweetpea Headband, designed by Emma Sinclair / EmmeClaire Crochet. The design and original photographs belong to the designer.
Is This Crochet Headband Suitable for Beginners?
If you already crochet basic stitches comfortably, this project offers a chance to try a more detailed texture in a relatively small accessory. Complete beginners may prefer to practice the special stitches on a sample before starting the headband.
My assessment is that it suits an advanced beginner. Star stitch, camel stitch, and joined sections are easier if you practice them on a swatch first. You will need to recognize stitch loops, keep your tension reasonably consistent, follow joined rounds, and pay attention to the transitions between sections.
The most demanding part is likely to be combining the star stitch with the joins and raised border details. Slow down there, and use the PDF’s photographs to check where your hook should go.
Before beginning, make sure you can:
- Work a chain, slip stitch, and half double crochet.
- Count stitches without including a join by mistake.
- Identify the top of a stitch and distinguish it from an extra loop.
- Change colors and weave in ends securely.
- Follow US crochet terminology.
If one of these feels unfamiliar, a short practice session will make the project more enjoyable.
Materials to Gather
The original pattern specifies chunky yarn, 6 mm and 6.5 mm hooks, a yarn needle, scissors, and a stitch marker. It uses Paintbox Yarns Simply Chunky in two pink shades.
You can organize your supplies before starting:
| Supply | What to check |
|---|---|
| Chunky yarn | Choose a soft yarn that feels comfortable against your forehead. |
| 6 mm and 6.5 mm hooks | Have both available; follow the pattern’s hook changes. |
| Yarn needle | Use one with an eye large enough for your yarn. |
| Scissors | Keep a small pair nearby for finishing. |
| Stitch marker | Mark the stitch indicated in the instructions. |
| Measuring tape | Check your head measurement and the developing fabric. |
For the first attempt, a smooth, light-colored yarn makes the stitch structure easier to see. Very fluffy yarn can hide the loops you need to identify.

Choosing Yarn and Colors
Start with a yarn close to the original yarn’s thickness and behavior. Two yarns labeled chunky can still produce different fabric, so the label alone cannot guarantee the same fit.
Make a sample and check how the fabric stretches and recovers. A yarn that feels soft in the ball may become stiff when crocheted tightly. Another may stretch easily but fail to return to its original size.
For a winter ear warmer, look for comfort, stitch definition, and care instructions that suit the person wearing it. If wool bothers your skin, choose a fiber you already know feels comfortable.
Color Combinations to Try
- Cream and dusty pink for a gentle contrast.
- Sage and ivory for a muted everyday accessory.
- Charcoal and pale gray for a subtle two-tone effect.
- Rust and oatmeal for warm autumn colors.
- A single shade to keep attention on the texture.
When changing colors, choose yarns with similar thickness and care requirements. A contrast yarn that is much thinner can change the appearance and tension of the borders.
Understanding the Stitches
The Sweetpea design combines several techniques. Knowing what each contributes helps you recognize the different parts of the fabric.
Half Double Crochet
Half double crochet provides a useful foundation for textured accessories. Practice producing even stitches before moving to the decorative sections.
Foundation Half Double Crochet
This technique builds a foundation and its first row of stitches together. If it is new to you, practice a short strip and compare its length and flexibility with your usual chain start.
Camel Stitch
Camel stitch uses an additional loop associated with half double crochet to create a raised effect. The important skill is identifying the intended loop consistently. Working into a different loop changes how the surface looks.
Star Stitch
Star stitch creates the decorative texture at the center of this design. Keep drawn-up loops relaxed enough to work through comfortably. If your sample becomes difficult to crochet, check whether you are tightening those loops as you make them.
Practice the stitch separately, then follow the original pattern for its placement, counts, and joins in this headband.
How to Get a Comfortable Fit
Measure around the path where you will actually wear the headband, including over the ears if you want an ear warmer. Keep the tape comfortably against your head without pulling it tight.
The Sweetpea pattern offers four sizes and is intended to fit snugly. Compare your measurement with the original sizing guidance, then check the fabric’s stretch before committing to a size.
What Is Negative Ease?
Negative ease means the finished accessory measures less than the body measurement it is intended to fit. The fabric stretches during wear to hold it in place.
For example, a 20-inch band worn around a 22-inch head has 2 inches of negative ease. That is an explanation of the term, not a size recommendation for this project. The right amount depends on the yarn, stitch pattern, and wearer’s comfort.
Check the Measurements Carefully
Some inch-to-centimeter equivalents in the designer’s size table are inconsistent. Measure in one unit, compare the finished dimensions, and check the fit guidance rather than switching between the two columns. One inch equals 2.54 cm.
Avoid choosing a size by age alone. Head measurements vary, and the same size label can mean different things across patterns.
Before You Start: A Practical Checklist
- Download the original pattern and read through it once.
- Select your size using actual measurements.
- Make a gauge sample and compare it with the designer’s target.
- Practice the special stitches and join on a small sample.
- Identify the instructions that apply to your chosen size.
- Keep a marker and measuring tape beside your work.
This preparation is especially useful if you are substituting yarn. A small sample costs less time than restarting a finished headband that does not fit.
Tips for a Neater Headband
Check the Starting Loop
Lay the foundation flat before joining and check that it has not twisted. An accidental twist at this stage changes the entire band. Sweetpea is a continuous band; it does not use the folded seam of a twisted-front headband.
Count at Section Changes
Check the count when you finish a section, especially near joins. If the texture stops lining up, inspect the beginning and end of the round before continuing.
Keep the Join Visible While Learning
Use a marker where directed and move it deliberately. It is easier to learn the join when you can see exactly where the round begins.
Try the Fit Before Finishing
When practical, check the band around your head before weaving in the final ends. It should feel secure without creating uncomfortable pressure.
Common Problems and What to Check
| Problem | First things to check |
|---|---|
| Headband feels too tight | Gauge, starting-edge tension, selected size, and yarn stretch. |
| Band slips during wear | Finished circumference and whether the fabric recovers after stretching. |
| Star texture looks compressed | Loop tension and whether the intended stitch locations were used. |
| Border looks uneven | Consistent loop placement and tension at the joins. |
| Count changes unexpectedly | First and last stitches, joins, and any accidental extra stitches. |
If the problem persists, return to the original PDF’s photographs. Undoing a small section early is usually easier than correcting several rounds later.
Customizing Your Finished Look
Color is a simple way to personalize the project while keeping the written construction intact. Try matching the borders to a favorite coat or using a quiet contrast around a brighter center.
For your first version, keep the structure as written. Changes to width, yarn weight, or stitch repeats can affect both fit and appearance. Treat structural modifications as experiments and make a sample first.
For care, follow the yarn label. Shape the washed headband gently and avoid stretching it while wet.
Frequently Asked Questions
Is this crochet headband pattern free?
The designer’s Ravelry listing currently describes it as a free download. Follow the original listing for access and any updated information.
Is this a twisted crochet headband pattern?
No. Sweetpea is worked as a continuous band with decorative stitch texture. If you want a twisted front, choose a pattern designed for that construction.
Can I use thinner yarn?
A thinner yarn will change the gauge, fabric, and finished measurements. Choose yarn close to the original recommendation for your first attempt. A substantial substitution needs sampling and adjustment.
Does the pattern use US or UK terms?
The pattern uses US crochet terms. Check this before you begin because similarly named US and UK stitches are different.
Can I sell finished headbands?
The designer permits selling finished items and asks for credit to EmmeClaire Crochet when referring to the pattern. Follow the designer’s terms; the PDF and photographs are separate from the items you make.
Has InfoCrochet tested this pattern?
InfoCrochet has not independently tested this project. This guide is based on the original pattern and the designer’s listing. Follow the original instructions and make a sample to check your gauge and fit.
More Crochet Headband Ideas
Want to compare textures and styles before choosing your next project? Browse more free crochet headband patterns for more inspiration.
If star stitch has caught your eye, start by making a small sample, then gather your yarn and open the original Sweetpea instructions. This free crochet headband pattern lets you practice decorative stitches in a wearable accessory. The designer describes it as a quick make, so it may also suit a quick gift project once you are comfortable with the stitches.