Easy Crochet Bandana Pattern for Beginners
Easy Crochet Bandana Pattern for Beginners
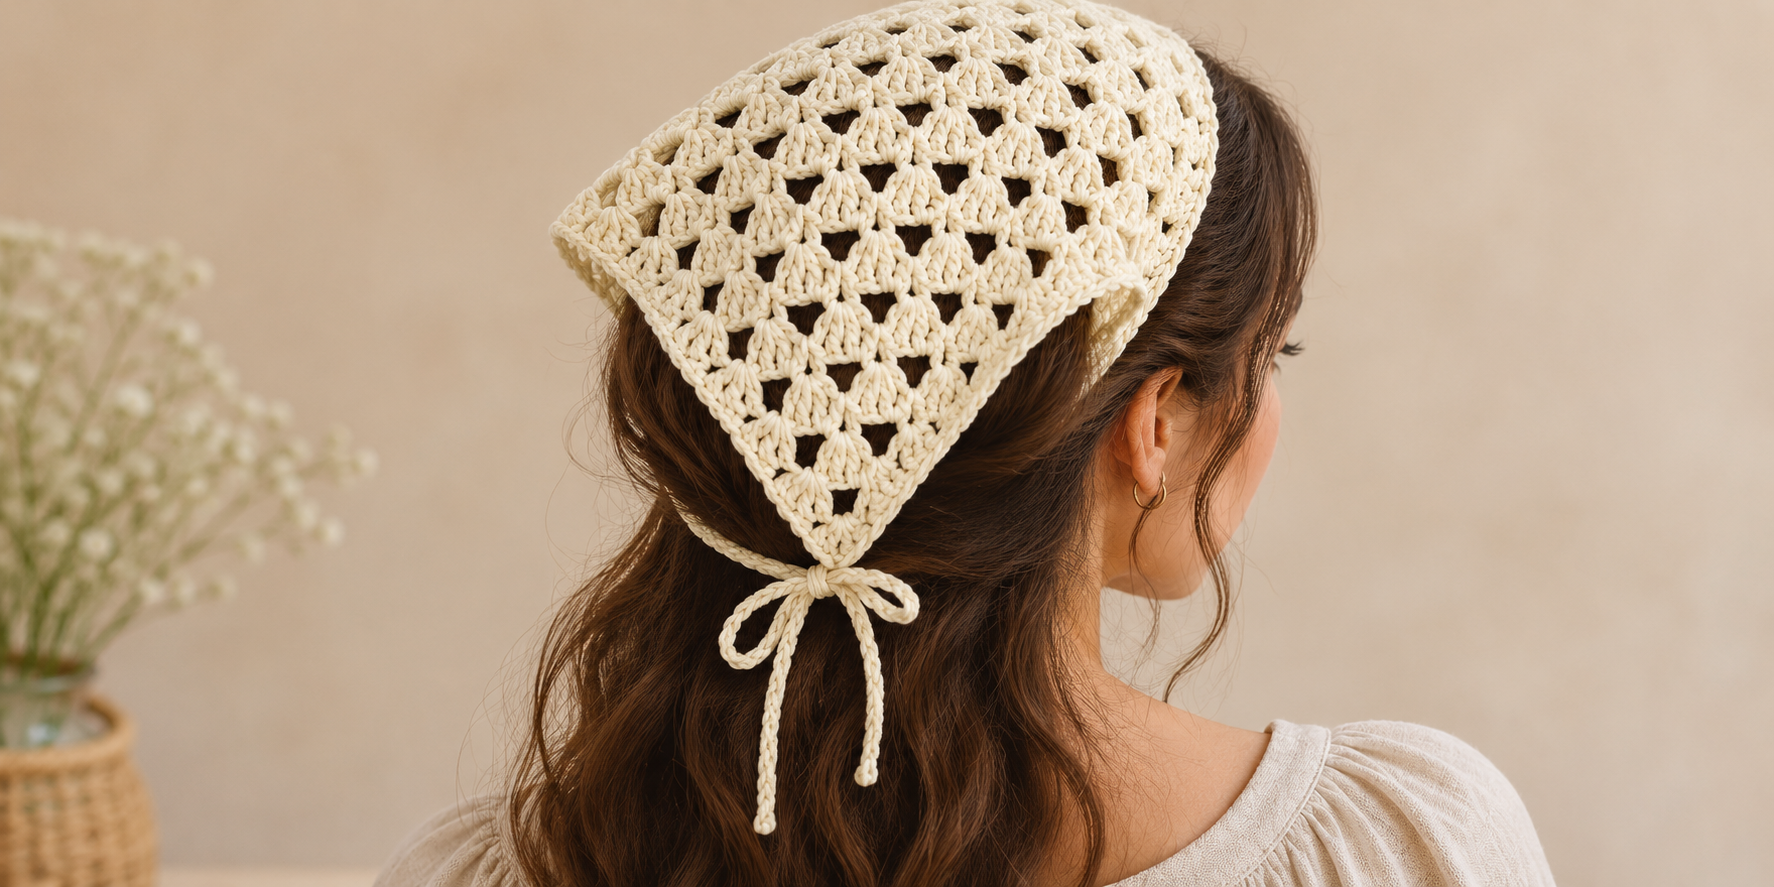
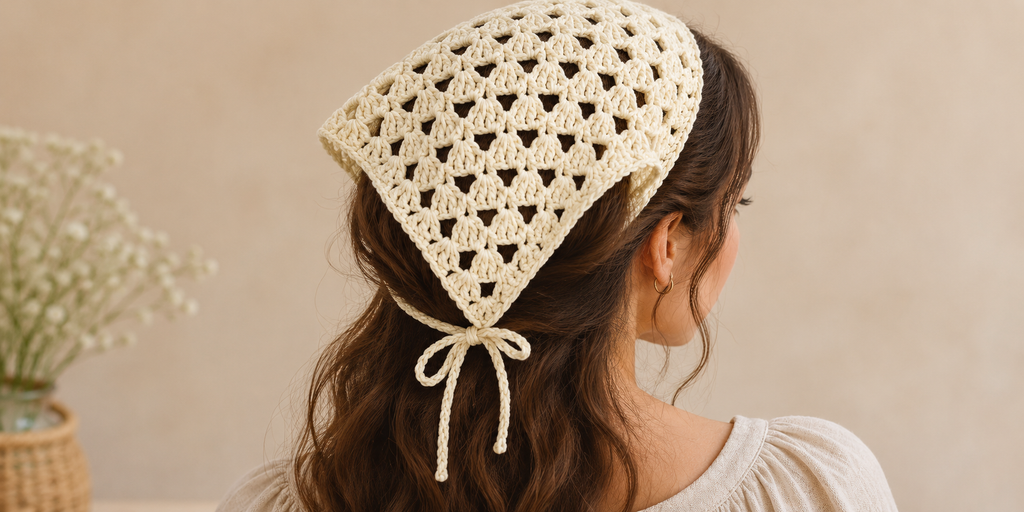
Make a lightweight hair accessory with this free crochet bandana pattern. Simple granny clusters create an open, textured triangle, while matching ties let you adjust the fit comfortably.
The triangle grows with each row, so you can choose how much coverage you want. Keep it small for a narrow head scarf, or add rows for a deeper bandana.
This tutorial explains the stitch placement, includes cluster counts, and shows how to finish the upper edge and ties.
Pattern status: This written draft has not been physically tested. Finished measurements, yarn consumption, and size-specific row counts are therefore not provided.
About This Crochet Bandana
The body uses groups of three double crochet stitches, called granny clusters. Each new row adds two clusters overall—one on each side of the center ch-2 space.
The center ch-2 space forms the triangle’s bottom point. The long upper edge is formed by the row ends, and the ties attach at its two corners.
| Project detail | Information |
|---|---|
| Skill level | Beginner familiar with basic crochet stitches |
| Terminology | US crochet terms |
| Suggested yarn | Light-weight #3 yarn, commonly labeled DK |
| Construction | Granny triangle worked in turned rows |
| Main stitches | Chain, double crochet, single crochet, slip stitch |
| Sizing | Adjustable by measuring as you work |
| Closure | Two crochet ties |
UK equivalents: US double crochet (dc) = UK treble (tr); US single crochet (sc) = UK double crochet (dc); US slip stitch (sl st) = UK slip stitch (ss).
Materials
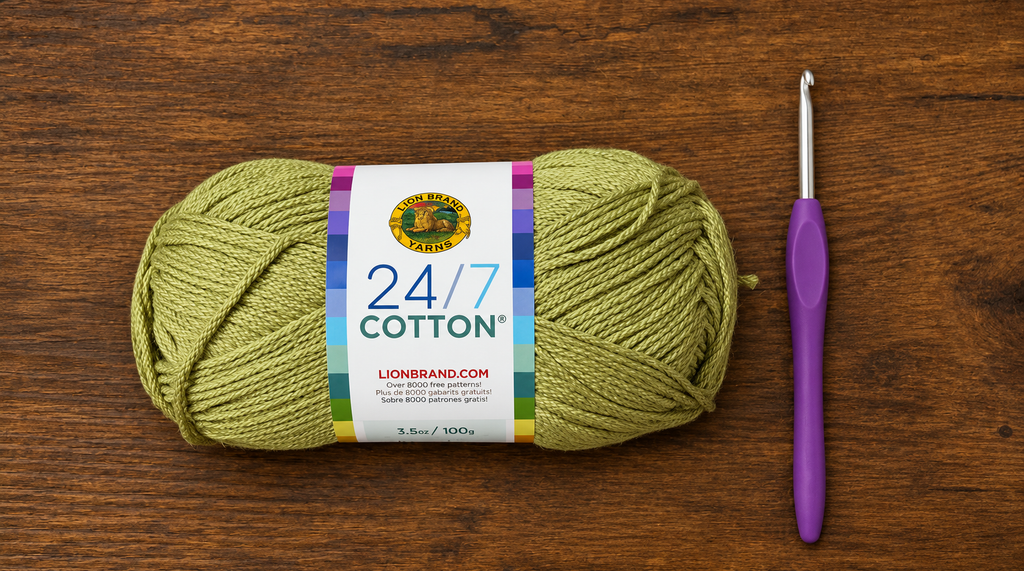
- Light-weight #3 yarn, preferably a smooth cotton or cotton blend.
- A crochet hook within the range recommended on the yarn label.
- Scissors.
- Yarn needle.
- Measuring tape.
- Optional stitch marker.
Choose a smooth, light-colored yarn for your first bandana. It makes the stitches and spaces easier to identify.
Choosing Your Hook
Start with the hook size recommended for your yarn. After a few rows, check how the fabric feels.
The triangle should bend comfortably. If it feels stiff, try a larger hook on a small sample. If the stitches are too loose for your preference, try a smaller hook.
Changing the hook affects the finished dimensions and yarn consumption, so measure the actual triangle rather than relying on another crocheter’s row count.
How Much Yarn Will You Need?
The quantity depends on your yarn, tension, finished size, and tie length. A reliable amount must come from a completed sample made with the specified materials.
For this adjustable version, keep enough matching yarn available to complete both ties and the upper edging.
Stitches and Abbreviations
| Abbreviation | Meaning |
|---|---|
| ch | Chain |
| dc | Double crochet |
| sc | Single crochet |
| sl st | Slip stitch |
| st / sts | Stitch / stitches |
| ch-1 space | Opening beneath a chain of one |
| ch-2 space | Opening beneath a chain of two |
What Is a Granny Cluster?
For this pattern, a granny cluster means 3 dc worked into the same stitch or space.
At the beginning of each row, the starting ch 3 counts as one dc. You then make 2 dc beside it to complete the first cluster.
Understanding the Chain Spaces
You will work into two types of openings:
- Ch-1 spaces: smaller openings between neighboring clusters.
- Center ch-2 space: the opening between the two center clusters, which forms the triangle’s point.
Work into the opening beneath the chain, rather than into an individual chain stitch, whenever the instructions say to work “in the space.”
Pattern Notes
- The beginning ch 3 counts as one dc throughout.
- Work the opening 2 dc into the same stitch at the base of that ch 3.
- Work the last cluster into the top of the previous row’s beginning ch 3.
- Separate neighboring clusters with ch 1.
- At the center point, work 3 dc, ch 2, 3 dc into the center ch-2 space.
- Turn after each completed row.
- The cluster counts include the opening cluster formed by ch 3 and 2 dc.
Place a marker in the center ch-2 space if you need help finding it.
Free Crochet Bandana Pattern
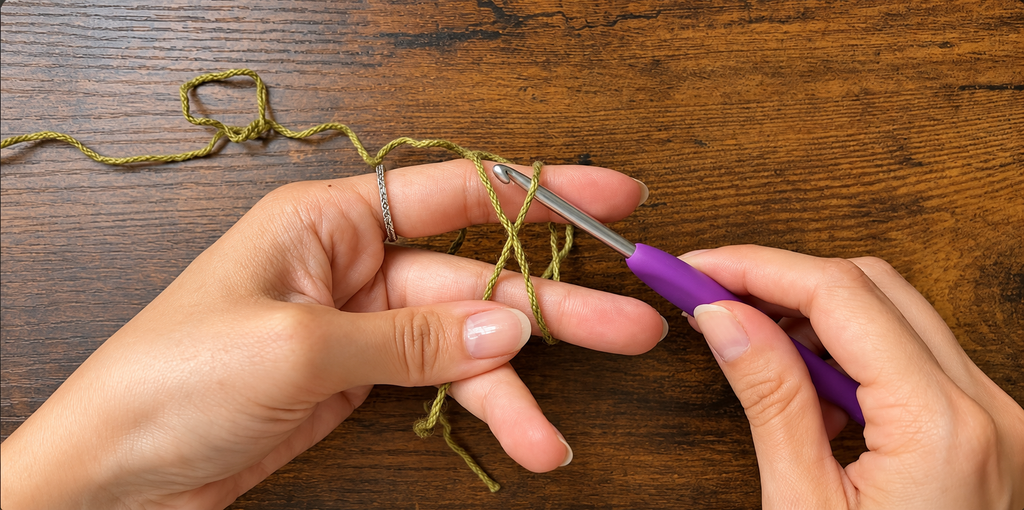
Step 1: Make the Starting Ring
Ch 4.
Join with a sl st in the first chain to form a ring.
The first row will be worked into the center of this ring.
Step 2: Work Row 1
Ch 3, work 2 dc into the ring, ch 2, then work 3 dc into the ring.
Row 1 check:
- Two granny clusters.
- Six dc total, including the beginning ch 3.
- One center ch-2 space.
Step 3: Work Row 2
Turn. Ch 3 and work 2 dc into the same stitch at the base of the ch 3—the last dc of the previous row.
Ch 1.
In the center ch-2 space, work 3 dc, ch 2, 3 dc.
Ch 1.
Work 3 dc into the top of the previous row’s beginning ch 3.
Row 2 check: Four clusters total, with two on each side of the center.
Step 4: Work Row 3
Turn. Ch 3 and work 2 dc into the same stitch at the base of the ch 3.
Ch 1.
Work 3 dc into the next ch-1 space. Ch 1.
In the center ch-2 space, work 3 dc, ch 2, 3 dc.
Ch 1.
Work 3 dc into the next ch-1 space. Ch 1.
Work 3 dc into the top of the previous row’s beginning ch 3.
Row 3 check: Six clusters total, with three on each side of the center.
Step 5: Continue the Triangle
For Row 4 and every following row:
- Turn. Ch 3 and work 2 dc into the same stitch at the base of the ch 3.
- Ch 1.
- Work 3 dc into each ch-1 space before the center, making ch 1 after each cluster.
- In the center ch-2 space, work 3 dc, ch 2, 3 dc.
- Ch 1.
- Work 3 dc into each ch-1 space after the center, making ch 1 after each cluster.
- Finish with 3 dc into the top of the previous row’s beginning ch 3.
Repeat until the triangle reaches your preferred size.
Check Your Cluster Counts
Each completed row has the same number of clusters on both sides of the center.
| Completed row | Clusters on each side | Total clusters | Total dc, including starting ch 3 |
|---|---|---|---|
| 1 | 1 | 2 | 6 |
| 2 | 2 | 4 | 12 |
| 3 | 3 | 6 | 18 |
| 4 | 4 | 8 | 24 |
| 5 | 5 | 10 | 30 |
| 6 | 6 | 12 | 36 |
| 7 | 7 | 14 | 42 |
| 8 | 8 | 16 | 48 |
| 9 | 9 | 18 | 54 |
| 10 | 10 | 20 | 60 |
The table checks stitch structure, not finished size.
After Row n, you should have n clusters on each side and 2n clusters altogether.
How to Adjust the Size
Lay the triangle flat without stretching it.
Measure:
- Upper width: from one outer corner to the other along the long edge formed by the row ends.
- Depth: from the middle of that upper edge to the center ch-2 point.
Hold the triangle against your head with the long edge across the front and the point facing backward. Check the coverage before adding the ties.
For a smaller bandana, stop after fewer rows. For a larger bandana, continue the repeat.
Adding rows increases both width and depth. Changing yarn or hook size changes the fabric and measurements but does not independently change the triangle’s basic proportions.
Add the First Tie
After the final body row, keep the yarn attached.
Chain until the tie reaches your preferred length. Leave enough length to tie comfortably behind your head.
Starting in the second chain from the hook, work 1 sl st into each chain back toward the triangle.
Keep the slip stitches relaxed. Tight stitches can shorten and stiffen the tie.
After the last sl st, sl st into the corner stitch at the tie’s base to secure it.
Record your chain count so you can make the second tie the same way.
Finish the Upper Edge
With the yarn still attached, work sc evenly across the long upper edge, placing stitches into the row ends.
For a starting guide, try placing 2 sc into each row end. Check the fabric frequently and adjust the spacing where needed.
- If the edge gathers or pulls inward, add stitches or loosen your tension.
- If the edge ripples, reduce the number of stitches.
- Keep the spacing consistent on both halves.
The final body row follows the two slanted sides. Those sides remain unedged in this version.
Add the Second Tie
At the opposite upper corner, make the same number of chains as the first tie.
Starting in the second chain from the hook, work 1 sl st into each chain back toward the triangle.
After the last sl st, sl st into the corner stitch at the tie’s base to secure it.
Check the fit before cutting the yarn. When you are satisfied, fasten off.
Finishing Your Bandana
Use a yarn needle to weave in all loose ends securely.
If the fabric needs shaping, block it according to the yarn label’s instructions. Lay it flat, gently arrange it into a symmetrical triangle, and allow it to dry completely.
Avoid stretching the ties or pulling the triangle aggressively into shape.
Troubleshooting
Why Is One Side Wider?
Count the clusters on each side of the center.
A difference usually means a cluster was missed or added. Check the outer edges and center increase first, then undo the work to the earliest incorrect row.
Why Are the Outer Edges Pulling Inward?
Check that every row begins with ch 3 and 2 dc in the first stitch and ends with 3 dc in the top of the previous row’s beginning ch 3.
Missing an opening or closing cluster affects the triangle’s growth.
Why Is the Center Point Rounded?
Make sure you work 3 dc, ch 2, 3 dc into the center space on every row.
Working only one cluster there, or omitting the ch 2, changes the shape.
Why Is My Bandana Curling?
Check for tight tension, missed increases, or an upper edging with too few stitches.
Gentle blocking may help minor unevenness. It cannot correct missing clusters or an incorrect increase pattern.
Why Are My Ties Stiff?
Slip stitches can become tight easily. Relax your tension and avoid pulling each completed stitch snug.
If necessary, remake the tie with a slightly larger hook and compare the result.
Frequently Asked Questions
Is a Crochet Bandana Suitable for Beginners?
Yes, provided you can chain and double crochet. The main skills are identifying chain spaces, finding the final stitch of each row, and keeping the increases consistent.
Do I Need a Magic Ring?
No. This crochet bandana pattern begins with four chains joined into a ring.
Can I Use a Different Yarn Weight?
You can experiment, but a different weight changes the drape, size, and yarn consumption. Make a small sample and measure the triangle as you work.
What Size Should a Bandana Be for Kids or Adults?
Use the wearer’s measurements and preferred coverage rather than a fixed age-based row count. Check the triangle against the wearer before making the ties.
For young children, use tie accessories only with appropriate supervision and remove them before sleep.
Can I Make a Striped Bandana?
Yes. Change colors at a row boundary, keeping the same stitch pattern and increases. Weave in the additional ends securely.
How Long Should the Ties Be?
They should be long enough to tie comfortably without pulling the triangle tight. Check the fit before fastening off and make both ties equal.
How Do I Wash My Crochet Bandana?
Follow the yarn label’s washing and drying instructions. Reshape the triangle after washing if needed.
How Long Does It Take to Crochet?
Completion time depends on your experience, yarn, and chosen size. Allow extra time on your first attempt to count clusters and check the fit.
More Free Crochet Patterns
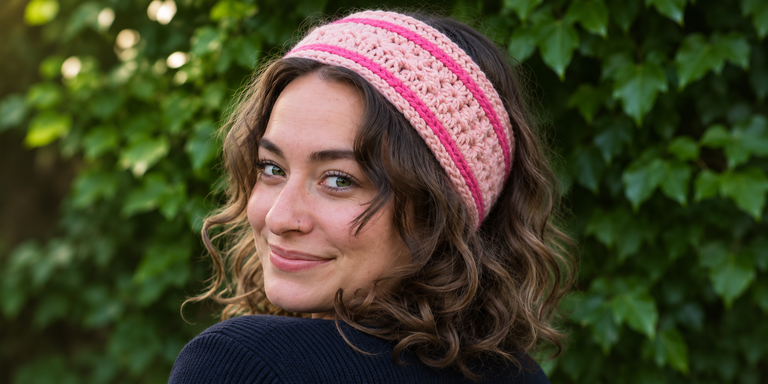
For another wearable accessory, try our easy crochet headband pattern.
To explore different designs, browse our collection of 15 free crochet headband patterns.
Choose your favorite color, check the cluster counts as you work, and measure the triangle before adding the ties. Those simple checks will help you create a bandana with balanced sides and a comfortable fit.