Easy Crochet Bandana Pattern: 6 Steps for Beginners

Easy Crochet Bandana Pattern for Beginners (Free Tutorial)
Looking for an easy crochet bandana you can make yourself? This beginner-friendly crochet project is a lovely way to create a lightweight, handmade hair accessory for spring, summer, or everyday outfits.
Crochet bandanas are popular because they’re comfortable, customizable, and easy to style. Whether you prefer soft neutral colors, bright summer shades, or a relaxed boho look, you can make a bandana that matches your personal style.
In this guide, you’ll learn about the materials, basic crochet stitches, sizing, and steps involved in making a simple triangle bandana with ties.
Pattern testing note: The original InfoCrochet pattern below is a draft and has not yet been physically tested. Stitch counts, gauge, dimensions, and fit must be checked before the pattern is considered verified.Easy Crochet Bandana Pattern: 6 Steps for Beginners
What Is a Crochet Bandana?
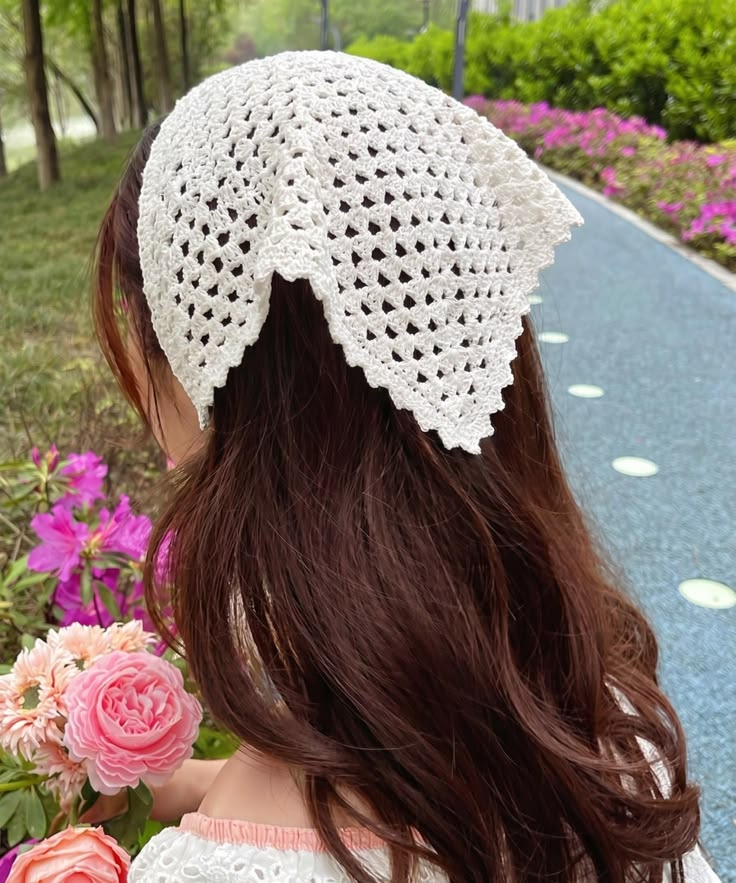
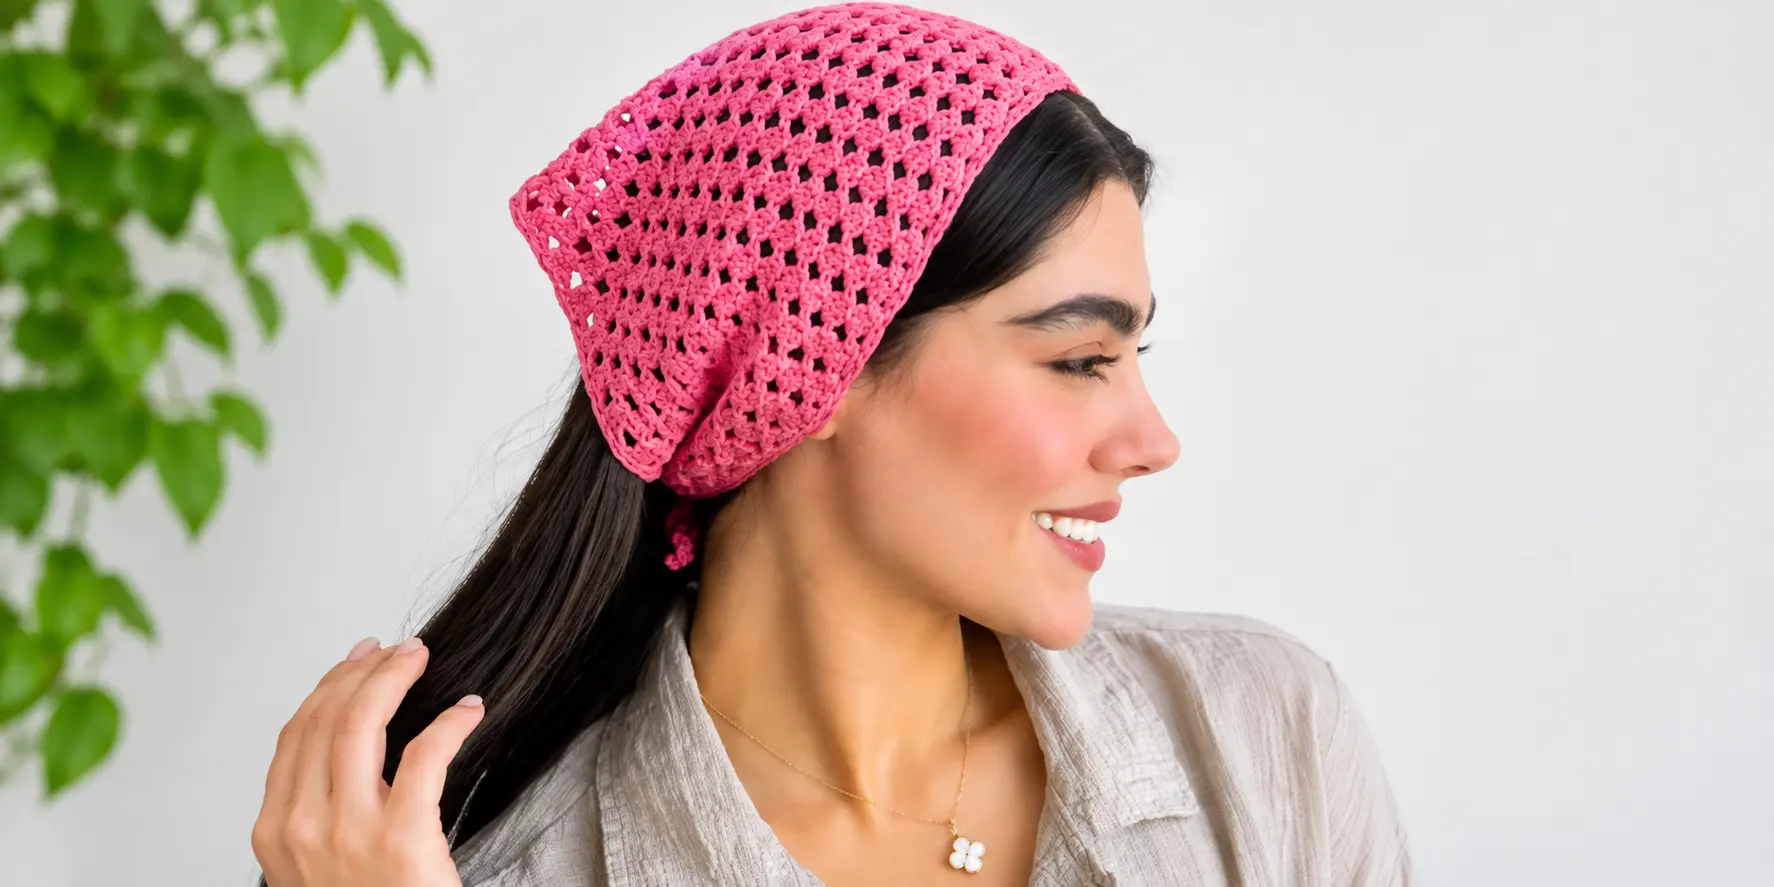
A crochet bandana is a handmade triangular hair accessory worn over the top or back of the head and secured with ties.
Unlike a traditional fabric bandana, a crochet version has a textured, handmade appearance. Depending on the yarn and stitch pattern, it can look delicate and airy or more structured and cozy.
Crochet bandanas are especially useful for:
- Casual spring and summer outfits
- Boho-inspired fashion
- Handmade gifts
- Keeping hair comfortably in place
- Practicing beginner crochet techniques
A simple triangle bandana is a manageable project for beginners who already know how to make chains and basic crochet stitches.
Why This Easy Crochet Bandana Is Beginner-Friendly
This crochet bandana uses a repeating stitch pattern that gradually creates a triangular shape.
The main techniques are chain stitches, single crochet, double crochet, and simple increases.
As your crochet fabric grows, you’ll see the triangle become wider. This makes it easier to understand how the pattern is developing and when to stop for your preferred size.
You can also customize the finished bandana by changing the yarn color, adjusting its width, or adding a decorative border.
Materials You’ll Need
Gather the following supplies before starting your crochet bandana:
- Yarn: Approximately 100–150 yards (91–137 m) of medium-weight cotton or cotton-blend yarn for an adult-size trial sample
- Crochet hook: 5 mm (US H/8), or a size suitable for your chosen yarn
- Scissors: For cutting the yarn
- Yarn needle: For weaving in loose ends
- Measuring tape: For checking the finished dimensions
- Stitch markers (optional): To help identify the center increase
The suggested yarn quantity and hook size are starting points for the original draft, not verified requirements. Your finished project may use more or less yarn depending on your tension and desired size.
For this easy crochet bandana, choose a soft, lightweight yarn that feels comfortable against your hair and skin. Cotton yarn is a good option for warm weather.
Not sure which yarn to choose? Check the Craft Yarn Council’s yarn weight guide to understand the different yarn thicknesses and choose suitable yarn for your crochet bandana.https://www.craftyarncouncil.com/standards/yarn-weight-system
Best Yarn for Crochet Bandanas
Choosing the right yarn makes a big difference in how your finished crochet bandana looks and feels.
Cotton Yarn
Cotton is a popular choice for warm-weather accessories. It offers stitch definition, breathability, and a comfortable feel.
Choose a soft cotton yarn if you want a bandana suitable for spring and summer.
Cotton-Blend Yarn
Cotton blends can offer additional softness and drape. They’re useful when you want a bandana that feels flexible rather than stiff.
Acrylic Yarn
Acrylic yarn comes in many colors and is often affordable. However, some varieties may feel warmer than cotton, so consider the season and how you plan to wear the bandana.
Beginner tip: Choose a smooth, light-colored yarn for your first project. It will make your stitches easier to see.
Crochet Stitches and Abbreviations
This pattern uses US crochet terminology.
| Abbreviation | Meaning |
|---|---|
| ch | Chain |
| sc | Single crochet |
| dc | Double crochet |
| st | Stitch |
| sp | Space |
| sl st | Slip stitch |
| rep | Repeat |
| RS | Right side |
How to Make a Double Crochet Stitch
- Yarn over your hook.
- Insert the hook into the indicated stitch.
- Yarn over and pull up a loop.
- Yarn over and pull through the first two loops.
- Yarn over again and pull through the remaining two loops.
Double crochet stitches create a flexible fabric and are useful for lightweight crochet accessories.
Crochet Bandana Size Guide
A comfortable bandana should cover the desired part of your head without feeling too tight.
The following measurements are starting targets for planning your project, not confirmed finished dimensions for this draft pattern.
| Size | Suggested top-edge width | Suggested depth |
|---|---|---|
| Small | 35–40 cm | 17–20 cm |
| Adult | 45–50 cm | 22–26 cm |
| Large | 50–55 cm | 25–29 cm |
These measurements exclude the ties.
You can adjust the size of your easy crochet bandana by adding or removing rows as you work. For a comfortable fit, measure the bandana against your head before finishing the ties.
Measure across the area of your head where you want the bandana to sit. Remember that yarn choice, stitch tension, and blocking can affect the finished dimensions.
For the best fit, try on your bandana before completing the ties.
How to Crochet a Bandana: Step-by-Step Instructions
This original draft uses a simple triangular construction with increases at both outer edges and at the center.
Skill level: Beginner with knowledge of basic stitches
Terminology: US crochet terms
Construction: Worked in rows from the narrow point toward the wide top edge
Step 1: Make the Foundation Chain
Start by making a slip knot and placing it on your crochet hook.
Chain 4.
Work 2 double crochet stitches into the fourth chain from the hook, chain 2, and work 3 more double crochet stitches into the same chain.
You have now created the first small row of your triangle, with a chain-2 space marking the center.
Turn your work.

Step 2: Begin Increasing the Triangle
Chain 3. In this draft, the beginning chain 3 counts as the first double crochet.
Work 2 double crochet stitches into the first stitch.
Chain 1.
Work 3 double crochet stitches, chain 2, and 3 more double crochet stitches into the center chain-2 space.
Chain 1.
Work 3 double crochet stitches into the final stitch.
Turn your work.
Your triangle should now be wider than the previous row.

Step 3: Continue the Granny-Style Rows
Chain 3 and work 2 double crochet stitches into the first stitch.
Chain 1, then work a group of 3 double crochet stitches into each chain-1 space along the first side, separating groups with chain-1 spaces.
At the center chain-2 space, work 3 double crochet stitches, chain 2, and 3 double crochet stitches.
Continue across the second side, working 3 double crochet stitches into each chain-1 space with chain-1 spaces between groups.
Finish by working 3 double crochet stitches into the final stitch.
Turn your work.
Draft instruction: Repeat this increase structure for the remaining rows. The precise placement and stitch counts must be confirmed by crocheting a physical sample before this is used as a final pattern.

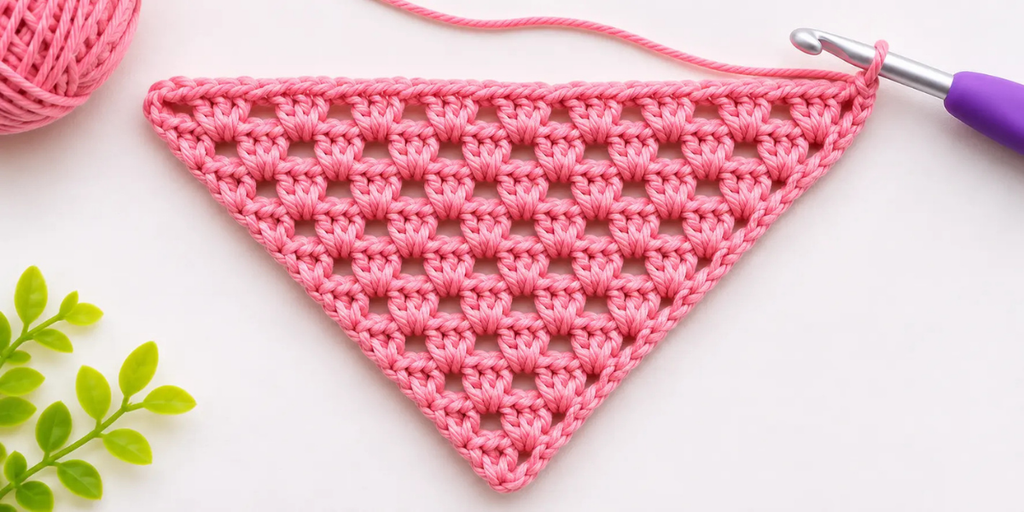
Step 4: Continue Until Your Bandana Reaches the Desired Size
Keep repeating the established triangle-increase pattern.
Measure the top edge of your bandana as you work.
For an adult-size trial sample, aim for approximately 45–50 cm across the upper edge, excluding ties.
Check the depth as well. A starting target of approximately 22–26 cm may work for some adults, but your preferred coverage and crochet gauge will determine the final size.
Once you’re happy with the size, fasten off and weave in the yarn end.
Step 5: Add the Bandana Ties
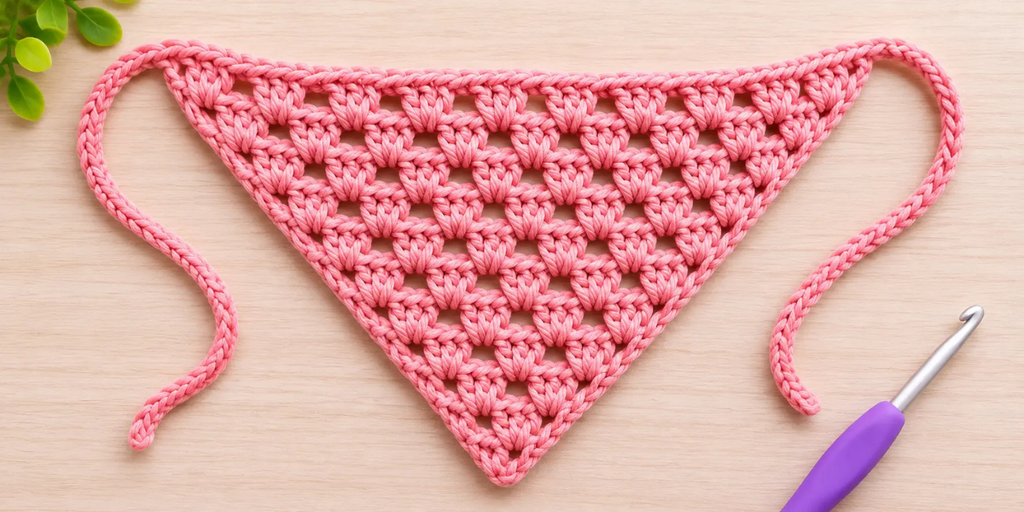
Attach your yarn to one upper corner of the triangle.
Make a chain long enough to form a comfortable tie. For an adult-size trial sample, you can begin with a tie approximately 25–30 cm long.
Work slip stitches back along the chain to create a slightly firmer tie.
Fasten off and weave in the end.
Repeat on the opposite upper corner, making the second tie approximately the same length.
Fit note: Check that the ties are comfortable and long enough to secure the bandana without excessive tension.
Step 6: Finish and Shape Your Crochet Bandana
Use a yarn needle to weave in any remaining loose ends.
Gently lay your crochet bandana flat and smooth the stitches into shape.
If your yarn care instructions allow it, lightly block the finished bandana to help even out the edges.
Try it on and tie it comfortably behind your head.
Your handmade crochet bandana is ready to style once the construction and fit have been checked.

How to Customize Your Crochet Bandana
Personalize your easy crochet bandana with your favorite yarn color. Pink, cream, sage green, and soft blue are lovely choices for a handmade summer accessory.
Try Different Colors
Use cream, sage green, dusty pink, soft blue, or rust orange for a relaxed handmade look.
For a more colorful design, change yarn colors between rows to create stripes.
Add a Decorative Border
Once you’re comfortable with the basic triangle, you can experiment with a simple single crochet border or a delicate picot-style edging.
Make a Larger or Smaller Bandana
Add more rows for a wider bandana or stop earlier for a smaller accessory.
Remember to check the fit before fastening off.
Create a Matching Accessory Set
Use the same yarn to make a matching crochet headband, scrunchie, or small flower accessory.
Common Crochet Bandana Mistakes
Uneven Triangle Edges
If one side looks longer than the other, check that you’re making the same number of increases on both sides of the center.
Bandana Too Small
Continue adding rows until the top edge reaches your desired measurement.
Bandana Too Stiff
Try a softer yarn or a larger crochet hook. Make a small swatch before restarting the project.
Ties Too Short
Measure the ties before fastening off and make sure they’re long enough for a comfortable knot.
Stitches Too Tight
Relax your yarn tension and avoid pulling each stitch too firmly.
How to Wear a Crochet Bandana
A crochet bandana can be styled in several ways.
For a classic look, position the wide edge across the top of your head and allow the triangle to drape toward the back.
Tie the two ends securely behind your head.
For a relaxed boho style, pair your crochet bandana with loose waves, casual summer clothing, or other handmade accessories.
You can also experiment with different placements to find the most comfortable fit.
Frequently Asked Questions
Is a Crochet Bandana Easy for Beginners?
Yes. A simple triangle bandana can be a good beginner project once you understand chain stitches, double crochet, and basic increases.
What Is the Best Yarn for a Crochet Bandana?
Soft cotton or cotton-blend yarn is a good choice for lightweight bandanas. The best yarn depends on the season, your preferred texture, and how much drape you want.
How Much Yarn Do I Need?
For this draft, approximately 100–150 yards is a preliminary adult-size estimate. The actual amount needs to be measured when testing the pattern.
What Size Crochet Hook Should I Use?
A 5 mm hook is a reasonable starting point with many medium-weight yarns. Always check the yarn label and make a gauge swatch.
How Long Does It Take to Crochet a Bandana?
The time depends on your experience, yarn, stitch pattern, and finished size. Beginners may need several hours, while experienced crocheters may finish more quickly.
Can I Make a Crochet Bandana Without a Granny Square?
Yes. Many crochet bandanas are made as one triangular piece rather than being assembled from individual granny squares.
How Do I Make My Crochet Bandana Bigger?
Continue the increase pattern for additional rows until the upper edge reaches your preferred width.
Can I Wash My Crochet Bandana?
Follow the care instructions on your yarn label. Some yarns can be machine washed, while others require gentle hand washing.
More Free Crochet Patterns
If you enjoyed learning about this crochet bandana, explore more handmade accessory ideas on InfoCrochet.
15 Free Crochet Headband Patterns for Beginners
You can also explore our Crochet Bandana Patterns category for more inspiration, including future granny square, lace, and boho bandana designs.
Final Thoughts
Making an easy crochet bandana is a fun way to practice basic stitches while creating a useful handmade accessory.
With your favorite yarn colors and a little patience, you can experiment with different sizes, textures, and finishing details to create a bandana that suits your style.
Save this guide for later, and explore more crochet headband and bandana ideas on InfoCrochet.
Pattern testing reminder: This original draft has not been physically tested. Verify the stitch instructions, row counts, gauge, dimensions, and tie construction with a completed sample before publishing it as a working pattern or creating a printable PDF.